


The Beginning of Friend.
She quit her job to grow vegetables. Friend was never part of the plan.
Popular searches
Popular searches

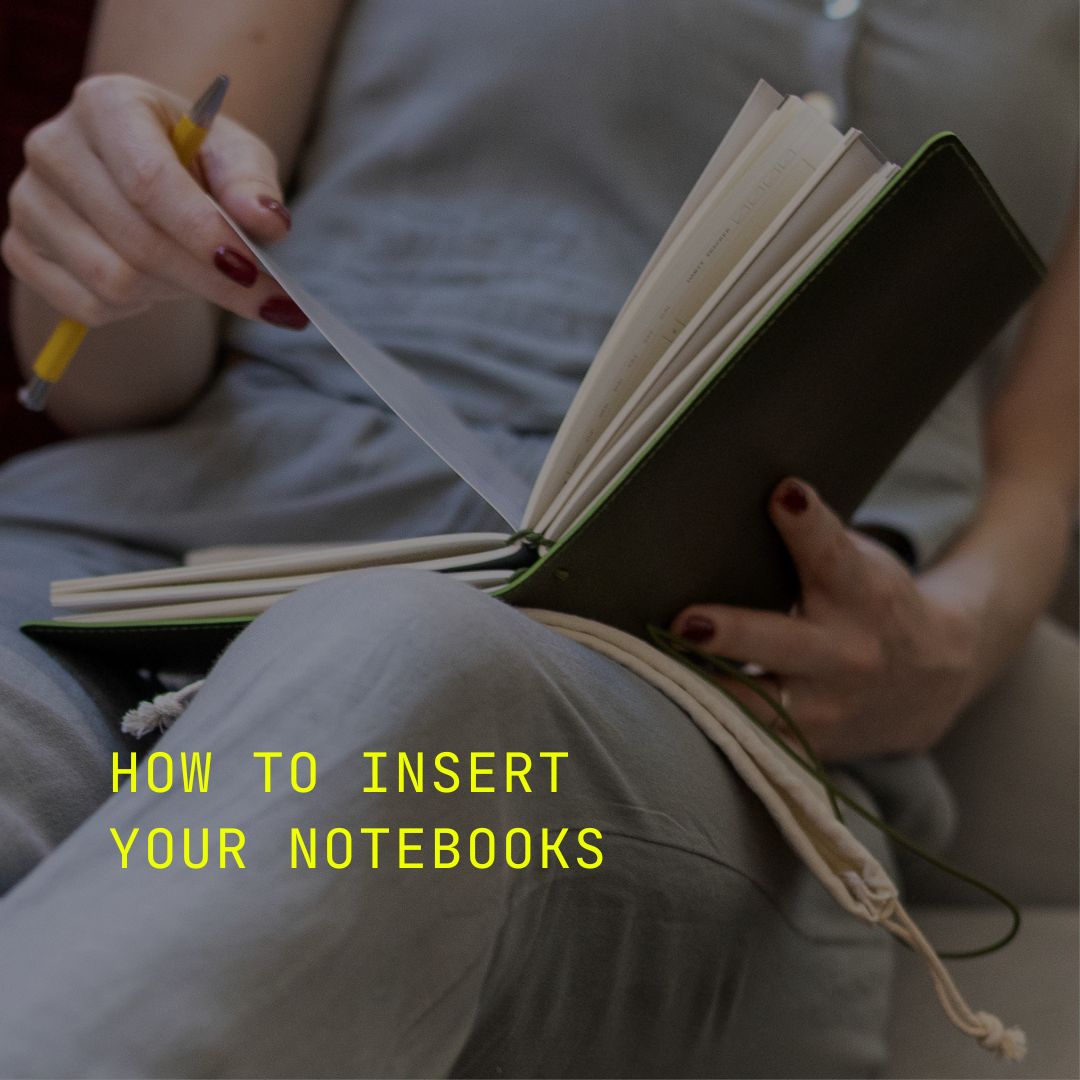
INSTRUCTIONS
Your folio arrives pre-laced and ready for you to insert your notebooks. But part of the magic is making it your own.
If you’d like to switch out the laces, add charms, thread in extra elastic, or adjust the fit to hold more notebooks, this is your friendly guide to customising your folio exactly the way you like it.
Think of this as your handy go-to whenever you want to re-lace, refresh, or remix your setup.

A. THE FOLIO SHEET

B. THE CLOSURE STRAP
(SHORTY WITH THE SILVER CLASPS)

C. INNER LACE
(THAT BIG LONG ONE)

Take your closure strap (B) and poke both of the silver clasps through the central hole >

Give it a tug to anchor it >

The side the clasps end up on is the inside of your folio.

Still looking at the inside of the folio, we are now going to thread that inner lace (C) >

Start by weaving it through the top-most hole, then back again through the next one >

That's it, keep threading >

Keep working your way down. Back through that next hole >

All the way through to the last hole. Nice!

Last step! We're going to secure the inner lace by tying both ends in a double knot. Take both ends >

That's it, just a gentle knot leaving about an inch on the ends >

And then a second one, tugging on your ribbons until it's nice and tight >

You can very gently trim any fraying to the ribbon - (but don’t go crazy and chop it all off now, y’hear?) >

Et voila! Your folio is ready to hold your notebooks.
NEXT
Received your new notebook cover and unsure where to start? Let us help.
She quit her job to grow vegetables. Friend was never part of the plan.

If you've quietly abandoned a language app (again), this might be why.

In a world optimised for consumption, choosing to slow down and journal what you read is quietly radical. Here’s why I started, and why it changed everything.

Got your super cute new folio charms? ✨ Maybe you picked one for every mood, every folio, every outfit… or every day of the week. No judgment. Only problem? ...